
When a worker goes down on a job site, the first question is not “what is the right treatment?” It is “what is actually happening?” Every first aid intervention, from calling 911 to applying direct pressure to performing CPR, depends on correctly identifying what is wrong before acting. Skipping or rushing the assessment step is one of the most common failure points in workplace first aid response.
This article covers the structured approach to patient assessment in workplace first aid: scene safety, the primary survey using the DRABC framework, the secondary survey, and the SAMPLE history. It is grounded in the 2024 American Heart Association and American Red Cross First Aid Guidelines, which identify the primary survey and SAMPLE history as essential components for rapidly detecting life-threatening conditions.
Why Structured Assessment Matters
The instinct in an emergency is to act immediately. That instinct causes problems when the action is wrong because the situation was misread. A worker slumped in a chair could be having a cardiac event, a diabetic emergency, a stroke, a heat illness, or a seizure. The initial presentation can look similar across these conditions, and the correct first aid response differs significantly between them.
A structured assessment does not slow down the response. It takes 30 to 60 seconds and prevents the kind of errors that waste critical minutes: treating an unconscious diabetic as a drunk worker, attempting to move someone with a suspected spinal injury, or starting CPR on a person who is breathing normally but unconscious.
Step 1: Scene Safety
Before approaching any person who appears injured or ill, the first aid responder must evaluate whether it is safe to do so. This is not a bureaucratic formality. A responder who enters an unsafe scene becomes a second casualty, which worsens the outcome for everyone.
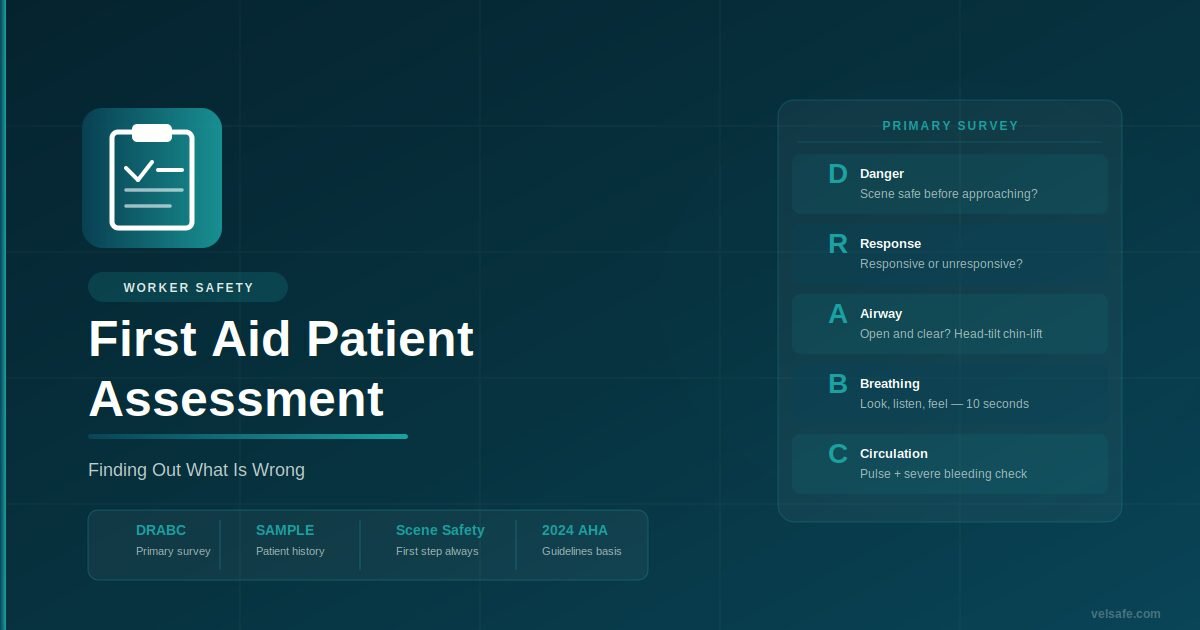
Step 2: The Primary Survey (DRABC)
The primary survey is the rapid, systematic check used to identify and address life-threatening conditions in order of priority. The DRABC framework, used consistently in US and international first aid training, structures the assessment into five sequential steps.
Confirm the scene is safe before approaching. Look for electrical hazards, moving vehicles, unstable structures, and atmospheric or chemical hazards. If danger exists and cannot be controlled, do not approach.
Tap the person’s shoulders firmly and ask loudly “Are you okay?” and “Can you open your eyes?” If they respond in any way (eye opening, verbal response, purposeful movement), they are responsive. If there is no response to stimulation, they are unresponsive. Unresponsiveness triggers immediate action: call 911, check airway and breathing.
Note: life-threatening bleeding discovered at this point takes priority. If a large, gushing wound is visible, apply direct pressure or a tourniquet before proceeding with the rest of the survey.
For an unresponsive person, open the airway using the head-tilt, chin-lift method: place one hand on the forehead and gently tilt the head back while lifting the chin with two fingers. This moves the tongue away from the back of the throat. If a spinal injury is suspected (fall from height, vehicle impact, diving injury), use the jaw-thrust technique without head tilt.
Look, listen, and feel for breathing for no more than 10 seconds. Look for chest rise, listen for breath sounds, and feel for air movement near the mouth and nose. Normal breathing in an adult is 12 to 20 breaths per minute. Gasping, very slow breathing, or no breathing at all is not normal and requires CPR. If breathing is present and the person is unresponsive, place them in the recovery position unless a spinal injury is suspected.
Check for signs of circulation, including visible heartbeat, normal breathing, movement, and signs of severe bleeding. For trained first aiders checking for a pulse, check the carotid artery (side of the neck) for adults. A pulse check should take no more than 10 seconds. Absence of a pulse in an unresponsive, non-breathing person means begin CPR immediately.
Calling for Help During the Primary Survey
Call 911 as early in the assessment as possible. If a second person is present, assign them to call while you continue the assessment. If alone with an unresponsive adult, call 911 before beginning CPR unless the person is clearly a child, in which case give 2 minutes of CPR first.
When calling 911, be ready to provide:
Step 3: The Secondary Survey
The secondary survey is conducted after the primary survey is complete and any immediate life threats have been addressed. Its purpose is to identify additional injuries or conditions that may not be immediately obvious and to gather the information EMS will need to treat the patient effectively.
The secondary survey has two components: the SAMPLE history and the head-to-toe examination.
SAMPLE History
SAMPLE is the standard mnemonic for gathering patient history from a conscious, communicative person. The questions should be asked conversationally, and the answers should be relayed to EMS when they arrive.
Head-to-Toe Examination
For a conscious worker with a mechanism of injury that could have caused hidden trauma, a brief head-to-toe check identifies injuries that may not be immediately visible or reported: a construction worker who fell from a ladder may have a visible wrist fracture but also a head injury they are not aware of.
When the Person Is Unconscious
If the worker cannot answer SAMPLE questions, gather information from bystanders who witnessed what happened, and look for:
Bracelets or neck tags that list conditions such as diabetes, epilepsy, blood thinners, or allergy to specific medications. Check the wrists and neck as part of the assessment.
Ask any bystanders: “Did you see what happened?” “Did they say anything before they collapsed?” “Did they have any complaints earlier in the shift?” These accounts become the E (events) component of the SAMPLE history.
A worker found near an exhaust source may have carbon monoxide exposure. A worker found near chemical containers may have had a toxic exposure. What is in the immediate area tells part of the story the worker cannot tell.
Common Assessment Errors in Workplace Emergencies
A second casualty does not help the first. Scene safety is the first step for a reason. In confined spaces, near electrical hazards, or in chemical release scenarios, entering without protection creates additional victims.
Agonal gasping is a reflex, not breathing. An unresponsive person who is gasping is in cardiac arrest and needs CPR immediately. The visual of a gasping person can delay CPR by creating the impression that they are alive and breathing.
A fall from height, a vehicle collision, or any mechanism that could have caused a head or neck injury requires spinal precautions. Moving the person without considering this can convert a survivable injury into permanent paralysis.
A worker known to have epilepsy who is found unresponsive may be having a seizure, or may have a completely unrelated cardiac event, head injury, or toxic exposure. Past history informs the assessment; it does not replace it.
The information gathered during the secondary survey is the handoff data for EMS. A SAMPLE history written on a notepad or phone during the assessment gives paramedics a head start on diagnosis that saves critical treatment time.
Putting It All Together: Assessment Sequence Summary
Sources
- AHA/Red Cross, “2024 First Aid Guidelines” (Circulation, 2024)
- OSHA, “Best Practices Guide: Fundamentals of a Workplace First-Aid Program” (Publication 3317)
- Osmosis, “SAMPLE: Secondary Assessment Acronym”
- Human Focus, “What Is a First Aid Secondary Survey?”
- ESafety, “Basic First Aid: Injury Assessment” (Toolbox Talk)
- AHA CPR and First Aid, “2024 First Aid Guidelines Overview”