
Musculoskeletal injuries are the largest single category of recorded workplace injuries in the US. The Bureau of Labor Statistics consistently finds that sprains, strains, and tears account for more than one-third of all days-away-from-work cases annually. In construction and manufacturing, impacts, falls, and overexertion are the primary mechanisms, and the first aid response in the minutes after an injury shapes how much function the worker retains.
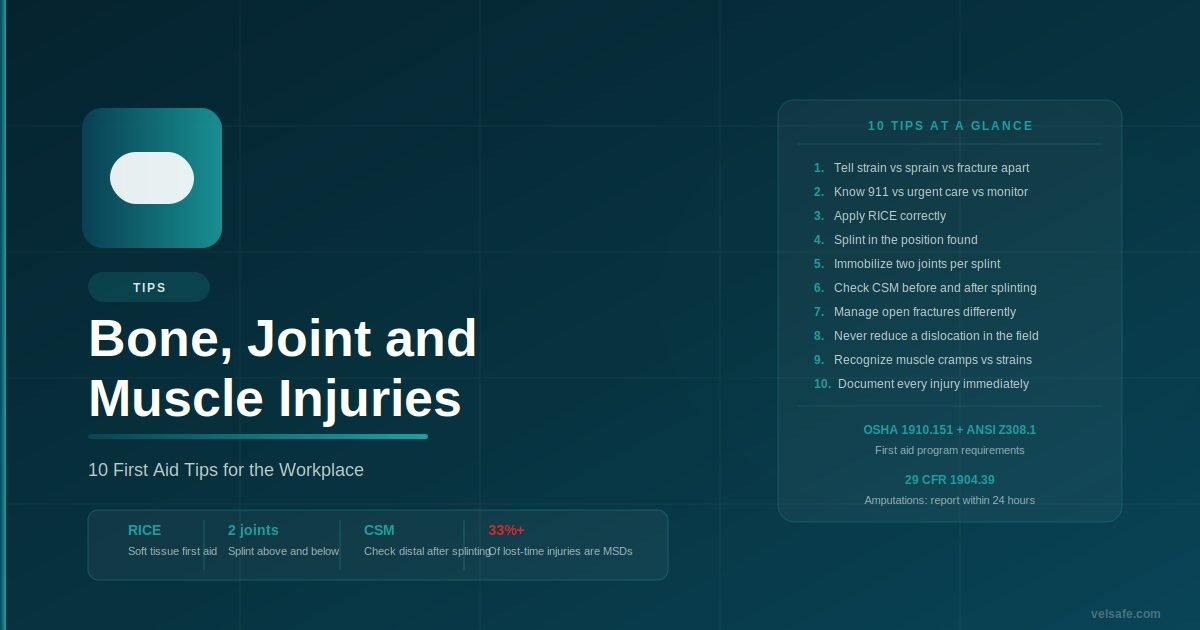
These 10 tips cover the practical first aid decisions for bone, joint, and muscle injuries in the workplace, from recognizing when an injury requires 911 versus urgent care, to the details of splinting, RICE application, and the circulatory checks that a first aider must perform.
1. Know the Difference Between Strains, Sprains, and Fractures
2. Know When to Call 911 vs. Urgent Care vs. Monitor
Open fracture with bone exposed, suspected pelvic or spinal fracture, significant head trauma with suspected skull fracture, suspected compartment syndrome, loss of consciousness, amputation.
Suspected closed fracture of an extremity, ankle or knee injury with inability to bear weight, severe sprain with significant swelling and bruising, suspected dislocation.
Minor muscle strain with intact range of motion, mild sprain with minimal swelling and able to bear weight, muscle cramps. Monitor and reassess within 24 hours. Worsen or persist: seek medical care.
3. Apply RICE Correctly for Soft Tissue Injuries
In workplace first aid program assessments, compression is the most frequently applied incorrectly. Workers wrap elastic bandages from the top of the ankle downward toward the toes, which traps swelling in the foot. Compression must always start distal and move proximal. A bandage applied in the wrong direction will increase discomfort and swelling, not reduce it.
4. Splint in the Position Found
Immobilize the limb in the position you find it. Use whatever firm material is available: a rigid board, a rolled magazine, foam padding, or commercial SAM splints. Secure with bandages without over-tightening.
Never try to straighten, reposition, or realign a fractured bone or dislocated joint. Attempting realignment risks damaging blood vessels, nerves, and surrounding tissue. That is a procedure for an operating room, not a job site.
5. Immobilize Two Joints with Every Splint
A splint that only immobilizes the fracture site itself is inadequate. Movement at either adjacent joint can cause movement at the fracture site. The rule is: immobilize the joint above and the joint below the injury.
A splint that only immobilizes the fracture site itself is inadequate. Movement at either adjacent joint can cause movement at the fracture site. The rule is: immobilize the joint above and the joint below the injury.
6. Check CSM Before and After Splinting
CSM (Circulation, Sensation, Motor function) must be checked at the distal end of the injured limb both before and after applying a splint. If CSM worsens after splinting, loosen the splint immediately.
7. Manage Open Fractures Differently from Closed Fractures
An open (compound) fracture is one where the bone has broken through the skin. Always call 911. Cover the wound with a sterile dressing without pushing the bone back. Splint but avoid pressure on the wound or bone. Open fractures carry high infection risk and require surgical irrigation.
8. Handle Dislocations with the Same Rule as Fractures
Do not attempt to reduce (put back) a dislocated joint in the field. Immobilize in the position found and transport to medical evaluation. A concurrent fracture is invisible without imaging, and field manipulation can convert a manageable injury into a surgical one.
In post-incident reviews where dislocations were manipulated in the field, the most consistent finding was that the treating physician had to work around secondary damage caused by the field manipulation before addressing the original injury. Workers who experienced field reduction uniformly had longer recovery times than those who had the injury properly reduced in an ED with imaging.
9. Recognize Muscle Cramps and Their Treatment Limits
Muscle cramps are involuntary sustained contractions, common in heat or after heavy exertion. They are distinct from strains. First aid: stop activity, gently stretch and massage, rehydrate. In a hot environment, cramps alongside weakness or nausea may indicate heat exhaustion.
Stop activity. Gently stretch and massage the affected muscle. Rehydrate with water or electrolyte drink. Rest in a cool area if heat-related.
Cramps alongside weakness, nausea, or heavy sweating in hot environments suggest heat exhaustion. Move to a cool area immediately and monitor for heat stroke progression.
10. Document Every Injury Regardless of Apparent Severity
A worker who twists an ankle and says it feels fine by afternoon may have a grade 3 ligament tear that becomes apparent two weeks later. Without documentation of the original event, work-relatedness becomes difficult to establish.
When splinting a suspected forearm fracture, which two joints must be immobilized?
Show answer
The wrist and the elbow. The splint must extend from the palm of the hand to past the elbow to prevent movement at both joints adjacent to the fracture site.
Common Mistakes
Without imaging, concurrent fractures and vascular injuries are invisible. Field manipulation causes additional damage and makes subsequent clinical assessment harder.
Wrapping from the top down traps swelling in the distal limb. Always wrap from fingers or toes toward the body.
Direct ice contact causes frostbite. Always use a cloth barrier. Limit application to 20 minutes at a time.
A splint that is too tight can cut off circulation or compress nerves, causing permanent damage. Check CSM immediately after splinting and periodically until EMS arrives.
When in doubt, treat as a fracture. Imaging is required to distinguish a severe sprain from a non-displaced fracture.
Injuries that appear minor can develop into significant conditions. Documentation at the time creates the record needed for workers’ compensation and work-relatedness determinations.
Sources
- BLS SOII, “Nonfatal Occupational Injuries and Illnesses 2023-2024”
- AHA/Red Cross, “2024 First Aid Guidelines” (Circulation, 2024)
- OSHA, “29 CFR 1910.151: Medical Services and First Aid”
- OSHA, “29 CFR 1904.39: Reporting Fatalities, Hospitalizations, Amputations”
- American Red Cross, “Broken Bones, Sprains and Strains: First Aid”
- Mayo Clinic, “Sprains: First Aid”